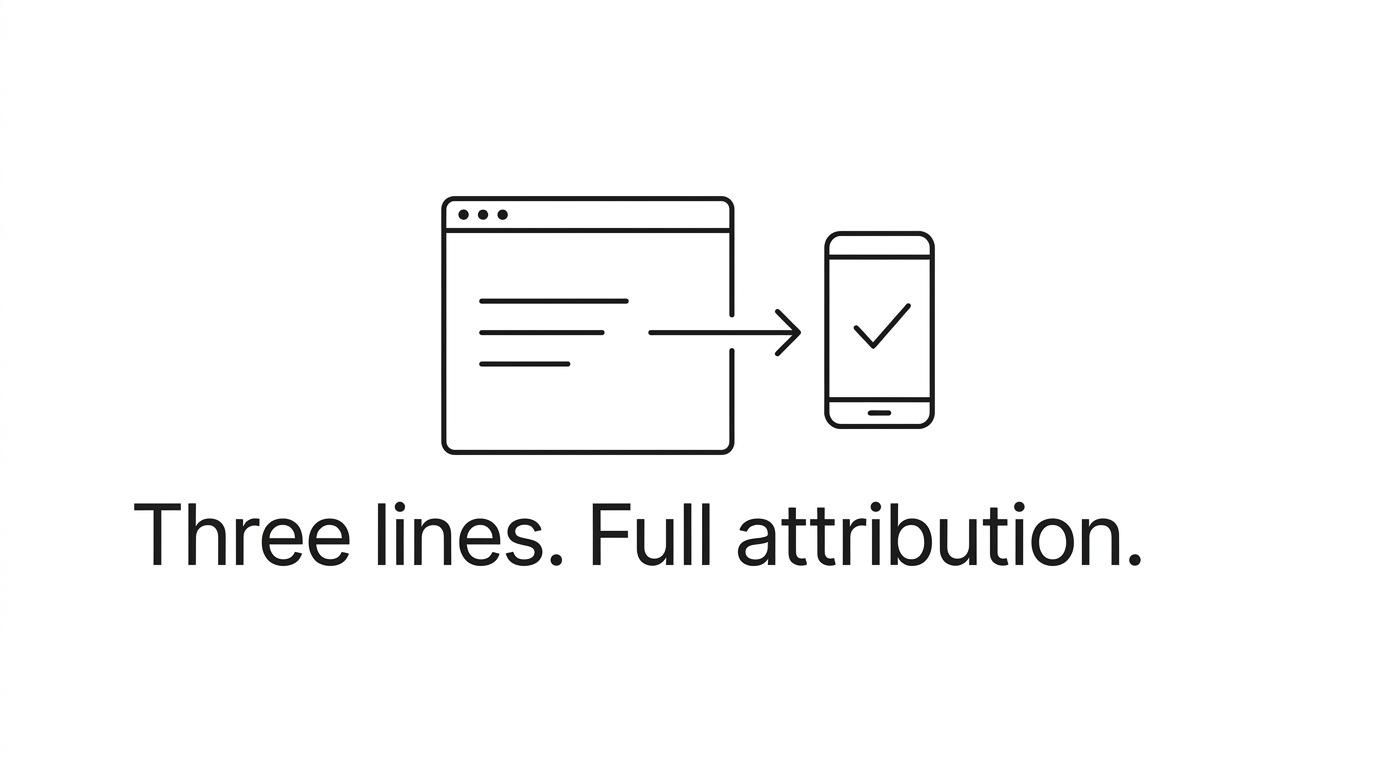
How to Add Affiliate Tracking to Your Android App (Kotlin)
Step-by-step guide to adding creator and affiliate install attribution to an Android Kotlin app using the Appfiliate SDK. Track which creators drive installs and revenue.
Are you running a creator or affiliate program for your Android app? Do you want to know which creators are driving installs and revenue for you? Without tracking, you’re paying out commissions blindly.
In this article, I’ll show you how to add affiliate tracking to an Android Kotlin app using the Appfiliate SDK. The process should take you about 10 minutes and will leave you with per-creator install attribution, revenue tracking, and optional webhooks for automatic purchase tracking with RevenueCat, Stripe, Superwall, Adapty, or Qonversion.
Why add affiliate tracking to your Android app?
Most app developers that run creator programs track results using UTM links, promo codes, or spreadsheets. All of these methods share the same problem: they break at the App Store boundary.A user clicks a creator’s link on Instagram. They land on Google Play. They install your app. They open it three hours later. By the time your app launches, there’s no cookie, no referral header, and no query parameter connecting that install back to the creator that drove it.
Affiliate tracking SDKs fix this by reading the Google Play Install Referrer, a deterministic API that passes referral data through the install process. The SDK reads this referrer on first launch, matches it against click data from your creators’ tracking links, and tells you exactly which creator drove each install.
On Android specifically, the attribution is deterministic. The Google Play Install Referrer API provides a direct link between the click and the install with no probabilistic matching required. The referrer data is available for up to 90 days after the event, which handles delayed installs without issue.
Once you know who drove the install, you can track revenue from that user and attribute it back to the creator. That’s how you calculate actual ROI per creator and pay commissions based on real performance data.
Step 1: Add JitPack and the SDK dependency
The Appfiliate Android SDK is distributed via JitPack. You need to add the JitPack repository to your project and then add the SDK as a dependency.First, add JitPack to your settings.gradle.kts:
dependencyResolutionManagement {
    repositories {
        google()
        mavenCentral()
        maven { url = uri("https://jitpack.io") }
    }
}
Then add the SDK dependency to your app-level build.gradle.kts:
dependencies {
    implementation("com.github.appfiliate:appfiliate-android-sdk:1.0.0")
}
Sync your project. The SDK has a single dependency (Google Install Referrer) and adds minimal weight to your APK. No special permissions are required beyond internet access, which the SDK’s manifest adds automatically.
Step 2: Configure the SDK and track installs
Find your app’s Application class or main Activity. Add the following to onCreate():import com.appfiliate.sdk.Appfiliate
// In Application.onCreate() or main Activity.onCreate():
Appfiliate.configure(this, appId = "APP_ID", apiKey = "API_KEY")
Appfiliate.trackInstall(this)Replace APP_ID and API_KEY with the keys shown in your Appfiliate dashboard. You can find them in your app's settings after signing up at appfiliate.io.
configure initializes the SDK with your app keys. trackInstall performs the attribution check. It reads the Google Play Install Referrer, sends it to the Appfiliate attribution API, and matches the install against recent clicks from your creators' tracking links. This method is idempotent, so it can safely be called every time your app starts.
After this step, every install that comes from a creator's tracking link will be attributed to that creator in your Appfiliate dashboard. Each creator will receive their own login where they can see their clicks, installs and earnings.
Step 3: Track purchases
If you're handling in-app purchases directly through Google Play Billing, you can track revenue by calling trackPurchase after each successful transaction:
Appfiliate.trackPurchase(
context = this,
productId = purchase.products.first(),
revenue = 9.99,
currency = "USD",
transactionId = purchase.orderId
)Call this after every successful purchase. The SDK will attribute the revenue to the creator who drove the original install. This data will be displayed in your dashboard and used to calculate commissions.
If you're using a subscription platform like RevenueCat or Stripe, skip this step and use webhooks instead. They're easier and also automatically track renewals and cancellations.
Step 4: Automatic purchase tracking with webhooks
Instead of calling trackPurchase, you can also connect your subscription platform to Appfiliate. This is the recommended method if you're using RevenueCat, Superwall, Adapty, Qonversion or Stripe.
Add the following line of code after trackInstall to link the user ID:
import com.appfiliate.sdk.Appfiliate

// In Application.onCreate() or main Activity.onCreate():
Appfiliate.configure(this, appId = "APP_ID", apiKey = "API_KEY")
Appfiliate.trackInstall(this)
Appfiliate.setUserId(this, Purchases.sharedInstance.appUserID) // RevenueCat exampleFor Stripe, use the Stripe customer ID instead:
Appfiliate.setUserId(this, stripeCustomerId)Then copy-paste the webhook URL into your subscription platform's dashboard. For RevenueCat, go to Dashboard -> Integrations -> Webhooks and copy-paste the URL. The webhook URLs and setup instructions for all platforms can be found on the integrations page.
Once the webhook is set up, purchases, renewals and cancellations will automatically be tracked and attributed to the creator who drove the install. No extra code needed.
Step 5: Check attribution status
You can also check if a user was attributed to a creator and retrieve the attribution ID:
val attributed = Appfiliate.isAttributed(context)
val id = Appfiliate.attributionId(context)
This can be useful if you want to display a different onboarding flow to referred users, or if you need the attribution data for your own analytics.
Testing your integration
Before releasing your app, please make sure the SDK is set up correctly:
- Build and install a debug version of your app.
- Generate a test tracking link from the Appfiliate dashboard.
- Open the tracking link on your test device; it will redirect to Google Play.
- Install and open the app.
- Check the Appfiliate dashboard again: you should see an attributed install.
If you’re using a webhook integration, make sure that the subscription platform is sending events to your webhook URL; most platforms have a webhook log where you can check the status and response code.
Requirements
The SDK requires Android API 21 and above (i.e., Android 5.0 or above). The SDK requires internet access; this permission will be automatically merged by the SDK manifest. No GAID (or AAID, or any other advertising identifier) is required. No special permissions are required.
The SDK is lightweight and only has a single dependency, which is Google’s Install Referrer library.
Frequently asked questions
Does the Appfiliate SDK require Google Advertising ID (GAID)?No. The SDK uses the Google Play Install Referrer API for attribution, which allows deterministic matching without requiring any advertising identifiers. No special permissions are required, and users will never see a tracking consent dialog because of the SDK.
Can I use Appfiliate together with an existing MMP like AppsFlyer or Adjust?Yes. Appfiliate and enterprise MMPs serve different use cases. MMPs track paid ad campaigns across ad networks. Appfiliate tracks which individual creators drove installs and revenue. Both are completely independent and don’t interfere with each other. We wrote a detailed comparison of Appfiliate vs AppsFlyer vs Branch if you want to understand the difference.
What happens if a user installs the app but doesn’t open it straight away?The Google Play Install Referrer data is persisted for up to 90 days from the install event. If the user opens the app at a later time, trackInstall will read the referrer and attribute the install correctly, even if it’s days or weeks after the click.
How much does Appfiliate cost?Appfiliate pricing starts at $79 a month with no annual commitment. There is a free tier that you can use to get started and test the integration. You can check the pricing page for more information.
What’s next
Now that the SDK is integrated and you’re seeing installs on the dashboard, you’re all set for a full creator affiliate program. Each creator will have their own tracking link and their own dashboard where they can see their clicks, installs, and earnings.
If you’re building a creator program from scratch, you can read our guide on how to set up an affiliate program for your mobile app. It covers everything from setting up a commission structure to recruiting creators and managing your program.
If you need more information, you can always check the full Android SDK reference.